Taking a screenshot in Windows 10 is a useful skill to have, whether you need to capture an error message, save an image, or share something with a colleague.
Windows 10 offers several ways to take screenshots, including keyboard shortcuts, built-in apps, and third-party tools.
In this post, we will guide you on how to take screenshot in Windows 10 with steps.
How to Take Screenshot in Windows 10?
Taking a screenshot in Windows 10 is a simple process that can be done using a few different methods.
Here are four ways to take screenshots in Windows 10:
1. Use the Print Screen key
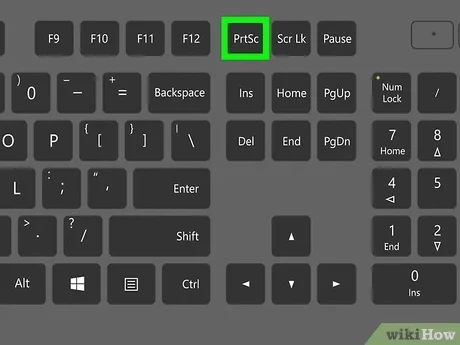
- The easiest way to take a screenshot in Windows 10 is to use the Print Screen key (sometimes abbreviated as PrtSc or Print Scrn).
- This will capture a screenshot of your entire desktop.
- Once you have taken the screenshot, you can paste it into an image editing program or document.
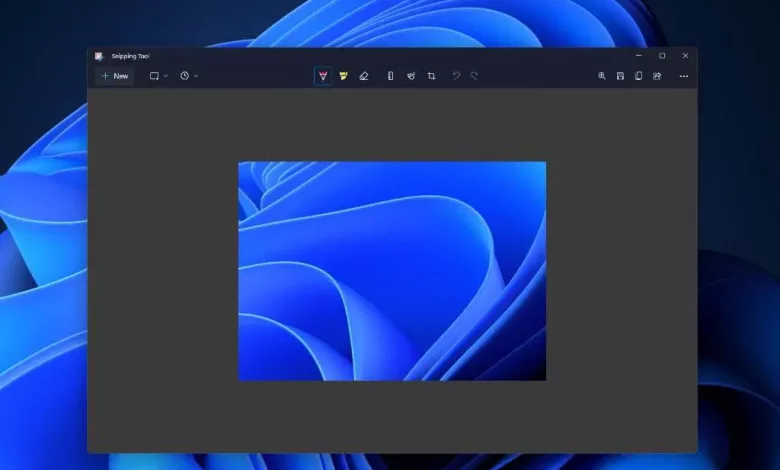
2. Use the Snipping Tool
Windows 10 also includes a built-in Snipping Tool that allows you to capture screenshots of specific areas of your screen.
To use the Snipping Tool:
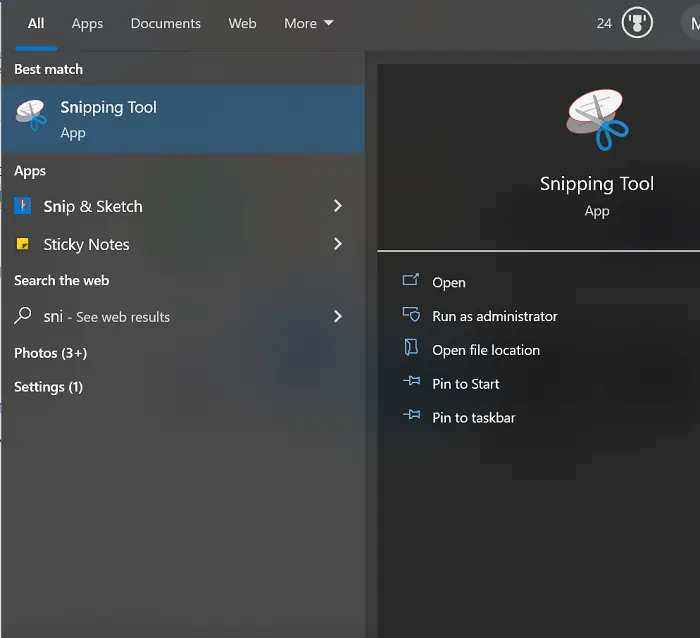
Open it from the Start menu.
- Select the type of snip you want to take.
- Drag the cursor over the area you want to capture.
- Once you have taken the screenshot, you can save it or copy it to the clipboard.
3. Use the Snip & Sketch tool
The Snip & Sketch tool is another built-in screenshot tool in Windows 10. It allows you to take screenshots of specific areas of your screen and annotate them.
To use Snip & Sketch to take screenshot:
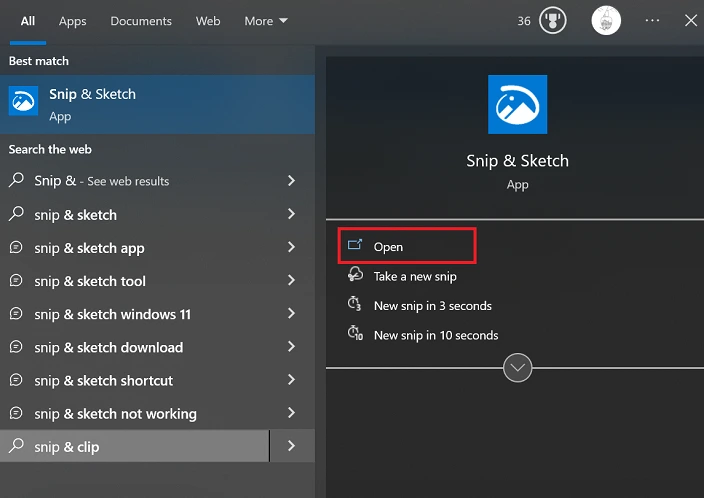
- Press the Windows key + Shift + S. This will open the Snip & Sketch toolbar.
- Select the type of snip you want to take and then drag the cursor over the area you want to capture.
- Once you have taken the screenshot, you can annotate it and then save or copy it to the clipboard.
4. Use the Game Bar
If you’re a gamer, you can use the Game Bar to take screenshots while playing games.
To use the Game Bar:
- Press the Windows key + G while playing a game. This will open the Game Bar.
- You can take a screenshot by clicking on the camera icon or by pressing the Windows key + Alt + PrtSc.
- Once you have taken the screenshot, you can find it in your Videos/Captures folder.
5. Using the Third Party Tool
If you want more control over your screenshots, you can use a third-party tool.
There are many options available, but some of the most popular ones include GadWin, Screenpresso, and Lightshot.
- To use a third-party tool, you will need to download and install it on your computer.
- Once installed, you can usually access it by clicking on an icon in your system tray or by using a keyboard shortcut.
- When you take a screenshot with a third-party tool, you will usually have more options for saving and sharing your screenshot.
You may be able to save your screenshot as a specific file type or upload it directly to a cloud storage service like Dropbox or Google Drive.
How to Take Screenshot of an Active Windows?
There are a few different methods to take screenshot of active Windows. Here are three options:
Use the Keyboard Shortcut
One quick and easy way to take a screenshot of the active window is to use a keyboard shortcut.
To do this,
- Simply click on the window you want to capture so that it is in focus, and then press the following keys at the same time: Alt + Print Screen.
- This will capture an image of the active window and save it to your clipboard.
How to Take Screenshot of a Specific Area?
To take a screenshot of a specific area in Windows 10, follow these steps:
- Press the Windows key + Shift + S on your keyboard. This will open the Snipping Tool, which allows you to capture a specific area of your screen.
- You will see a blurred overlay on your screen. Use your mouse to drag over the area you want to capture.
Read Also: AMD Radeon R9 285 Review
Troubleshooting Common Issues
Here are some common issues you might encounter and how to troubleshoot them:
The print Screen button not working
If you press the Print Screen button and nothing happens, it could be due to a few reasons.
One possible cause is that the F Lock or F Mode keys are enabled, which can prevent the Print Screen button from working.
To fix this, hold down the F Lock or F Mode keys to disable them and try taking the screenshot again.
Screenshot not saving
If you take a screenshot but can’t find it, it might be because it’s not saving to the default location.
By default, screenshots are saved to the Pictures > Screenshots folder, but you can change this location if you want.
To check where your screenshots are saving, open the Settings app, go to System > Storage, and scroll down to the Save Locations section.
Make sure that the Screenshots option is set to the folder you want.
Screenshot blurry or low-quality
If your screenshot looks blurry or low-quality, it could be because of the scaling settings on your computer.
To fix this, try changing the scaling settings to 100% and taking the screenshot again.
Read Also: JoinPD: Everything you need to know
Conclusion
In Windows 10, taking screenshots is like saving a picture of your computer screen.
You can do it in different ways, like using special keys or tools.
These screenshots are useful for fixing issues, saving images, or showing things to others.
By following these steps, you can easily take screenshots in Windows 10 and share it with anyone you want.